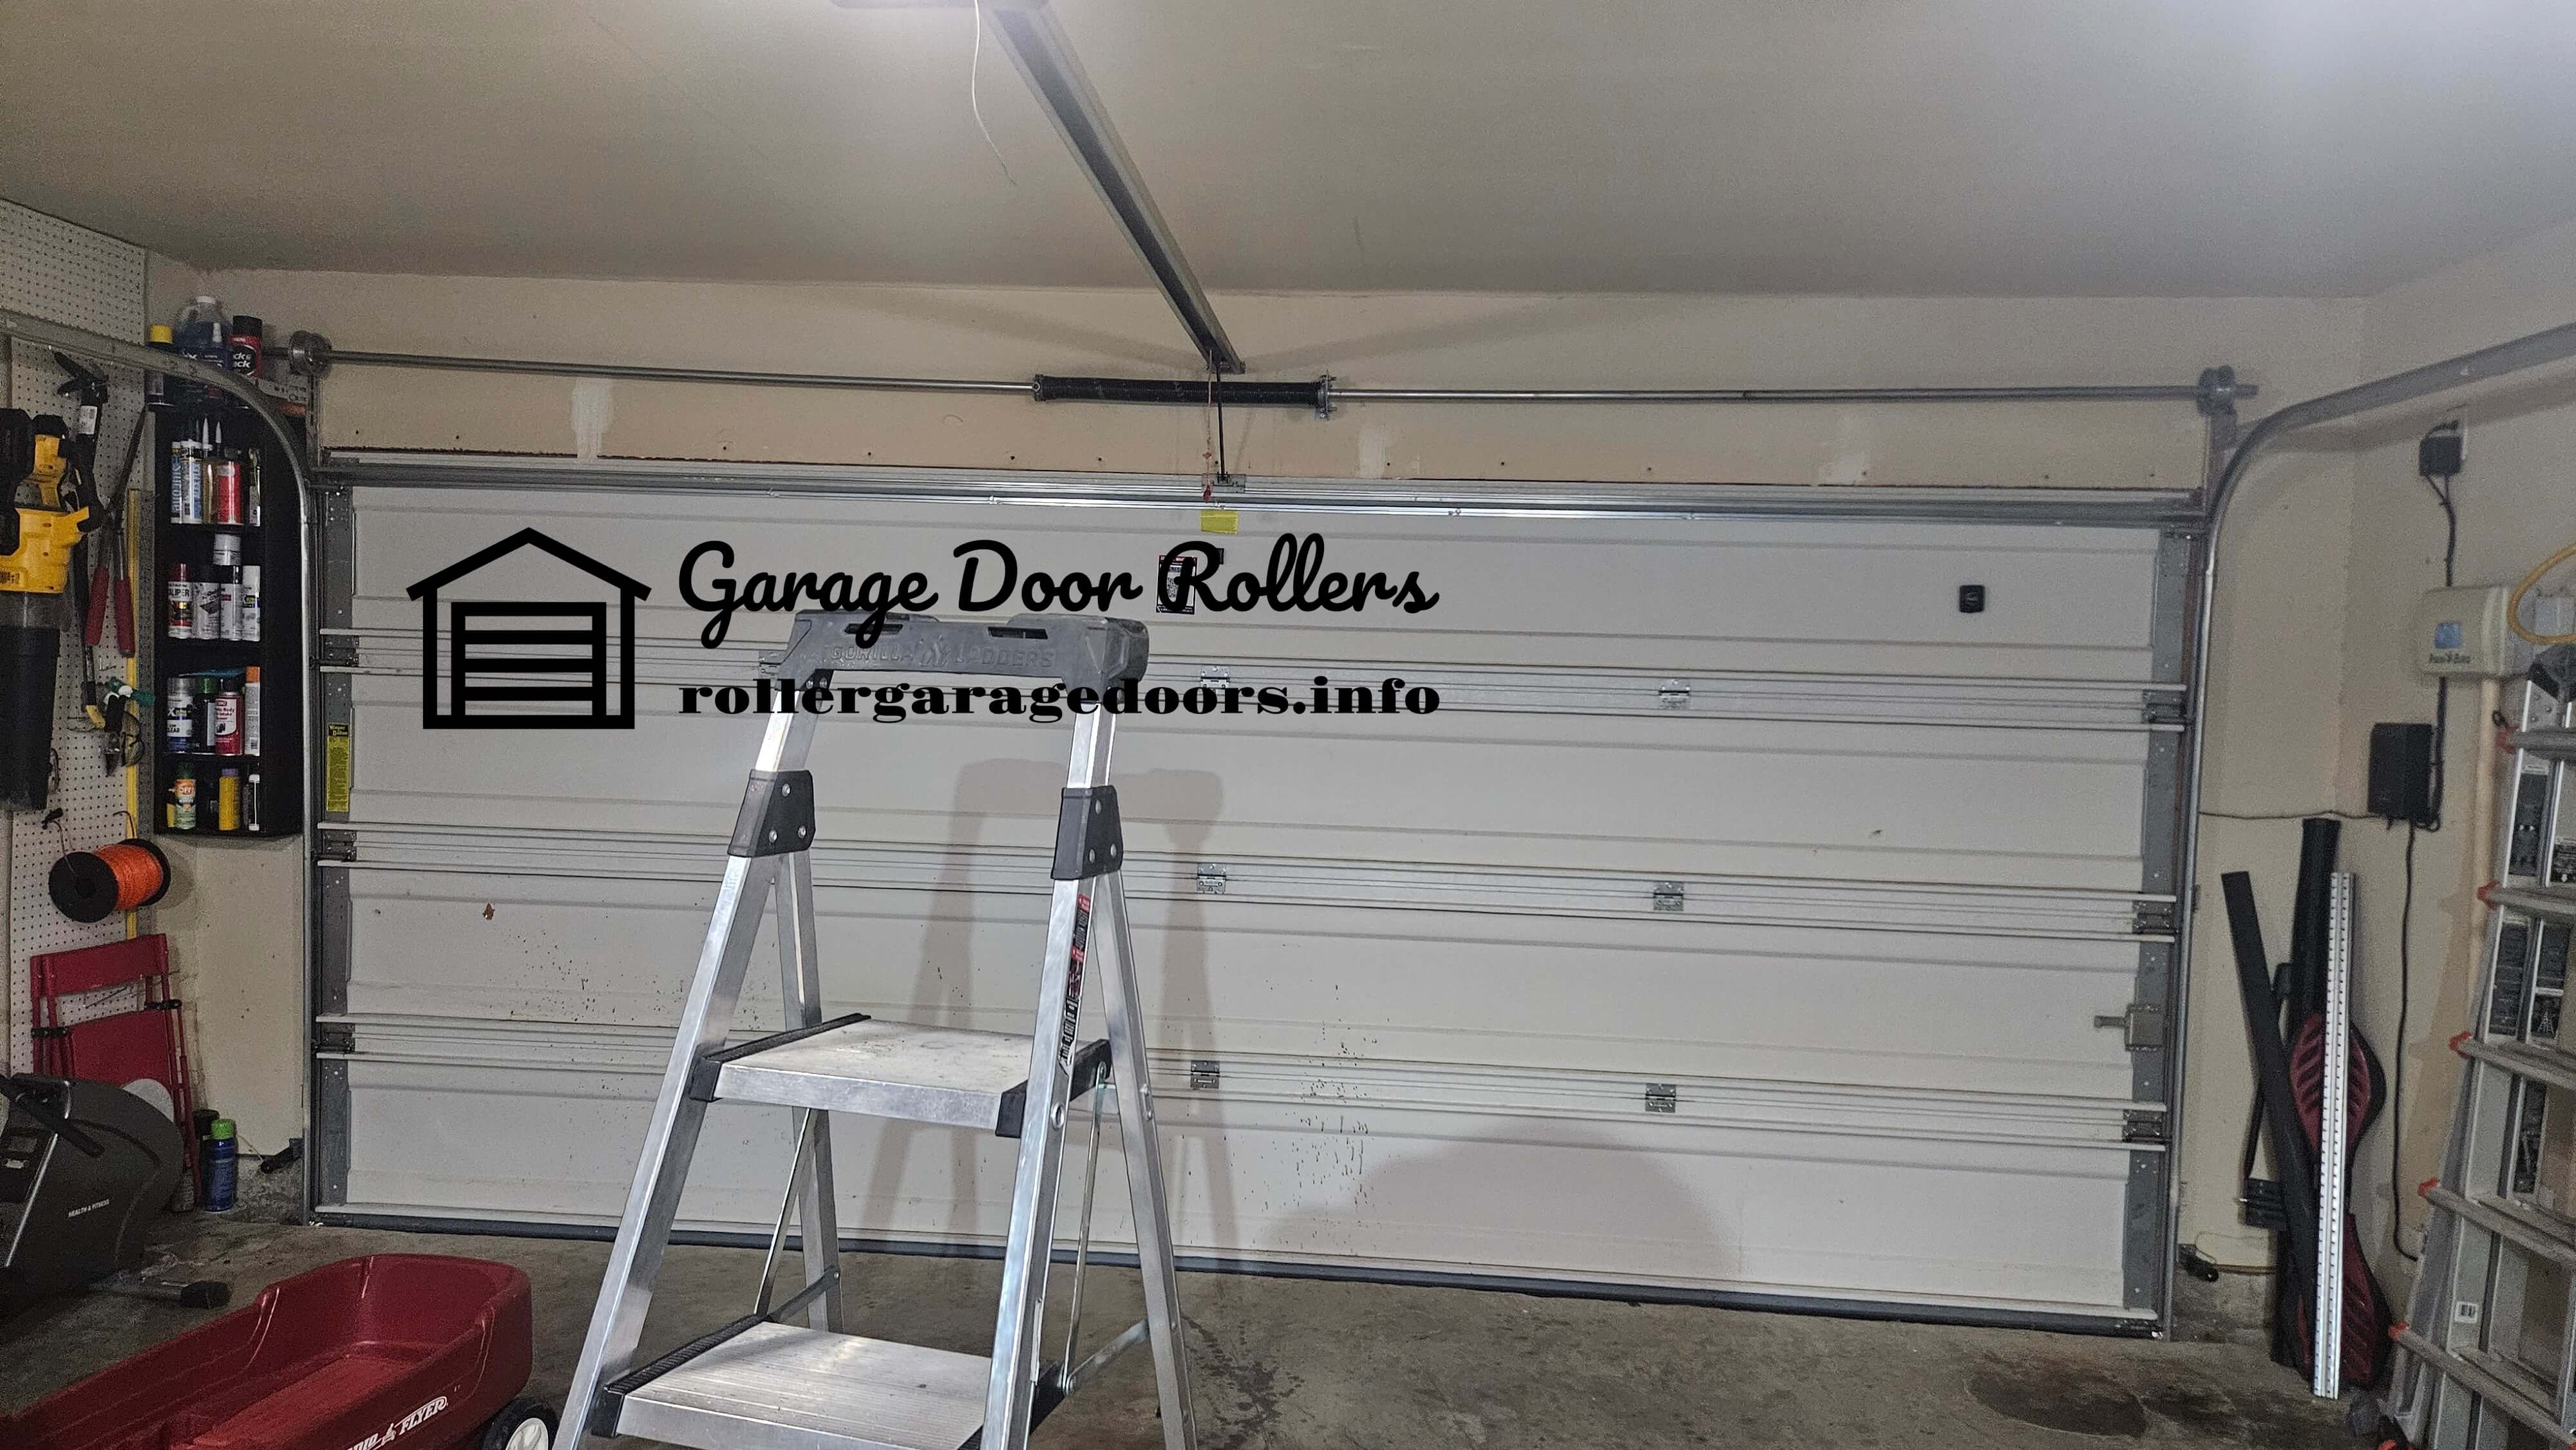
Lower the garage door completely. For safety reasons, replace all rollers except the bottom set while the door is down. This ensures the door won’t slide and the individual panels won’t sag when you remove the hinges. Add C-clamps to the door track above the bottom rollers to secure the door. Tighten the clamps just above the bottom rollers to prevent the door from accidentally rising. Twist the clamp handle to secure it.
Disconnect and unplug the electric garage door opener to avoid accidental activation. Pull the opener’s release rope and unplug it from its outlet. If needed, use a ladder to safely reach the release rope and outlet. If the opener is hard-wired, turn off the corresponding breakers or fuses.
Unwind the torsion springs with steel winding bars. Insert one winding bar into a hole in the spring’s adjustment collar to hold it steady. Carefully loosen the set screw with a screwdriver while holding the winding bar in position. Twist the spring ¼ turn at a time until the tension is gone, turning in the opposite direction of the cable over the pulley. Tighten the set screw or clamp the spring shaft to hold it in place. Measure the adjustment collar holes to ensure you have the correct diameter winding bars. Wear protective goggles and gloves for safety, and note the number of ¼ turns to restore the original tension later.
The torsion springs are located on a steel shaft above the garage door frame. Unscrew and remove one door hinge and roller at a time, starting with the second set from the bottom. Remove all screws from one hinge and lift it off the door, maneuvering the roller out of the track. Only remove and replace one hinge and roller at a time to maintain door stability. Use pliers or the claw of a hammer if you can’t wiggle the roller out by hand. You may need a hammer to tap the hinge out of place.
Slide the old roller out of the hinge and insert the new one. Pull the old roller out of its guiding holes and discard it, then slide the new roller into the hinge holes. Tip the roller back into the track and reattach the hinge to the door. Align the bolt holes on the hinge with the door and tighten the nuts or screws to secure it. If necessary, use a hammer to tap the roller back into the track.
Repeat this process for each hinge and roller except the bottom pair, removing and replacing one at a time to keep the door stable. A standard 7 ft (2.1 m) garage door has 10 rollers and hinges (5 per side), and an 8 ft (2.4 m) door has 12 (6 per side). Ensure you have the correct number of replacement rollers before starting.
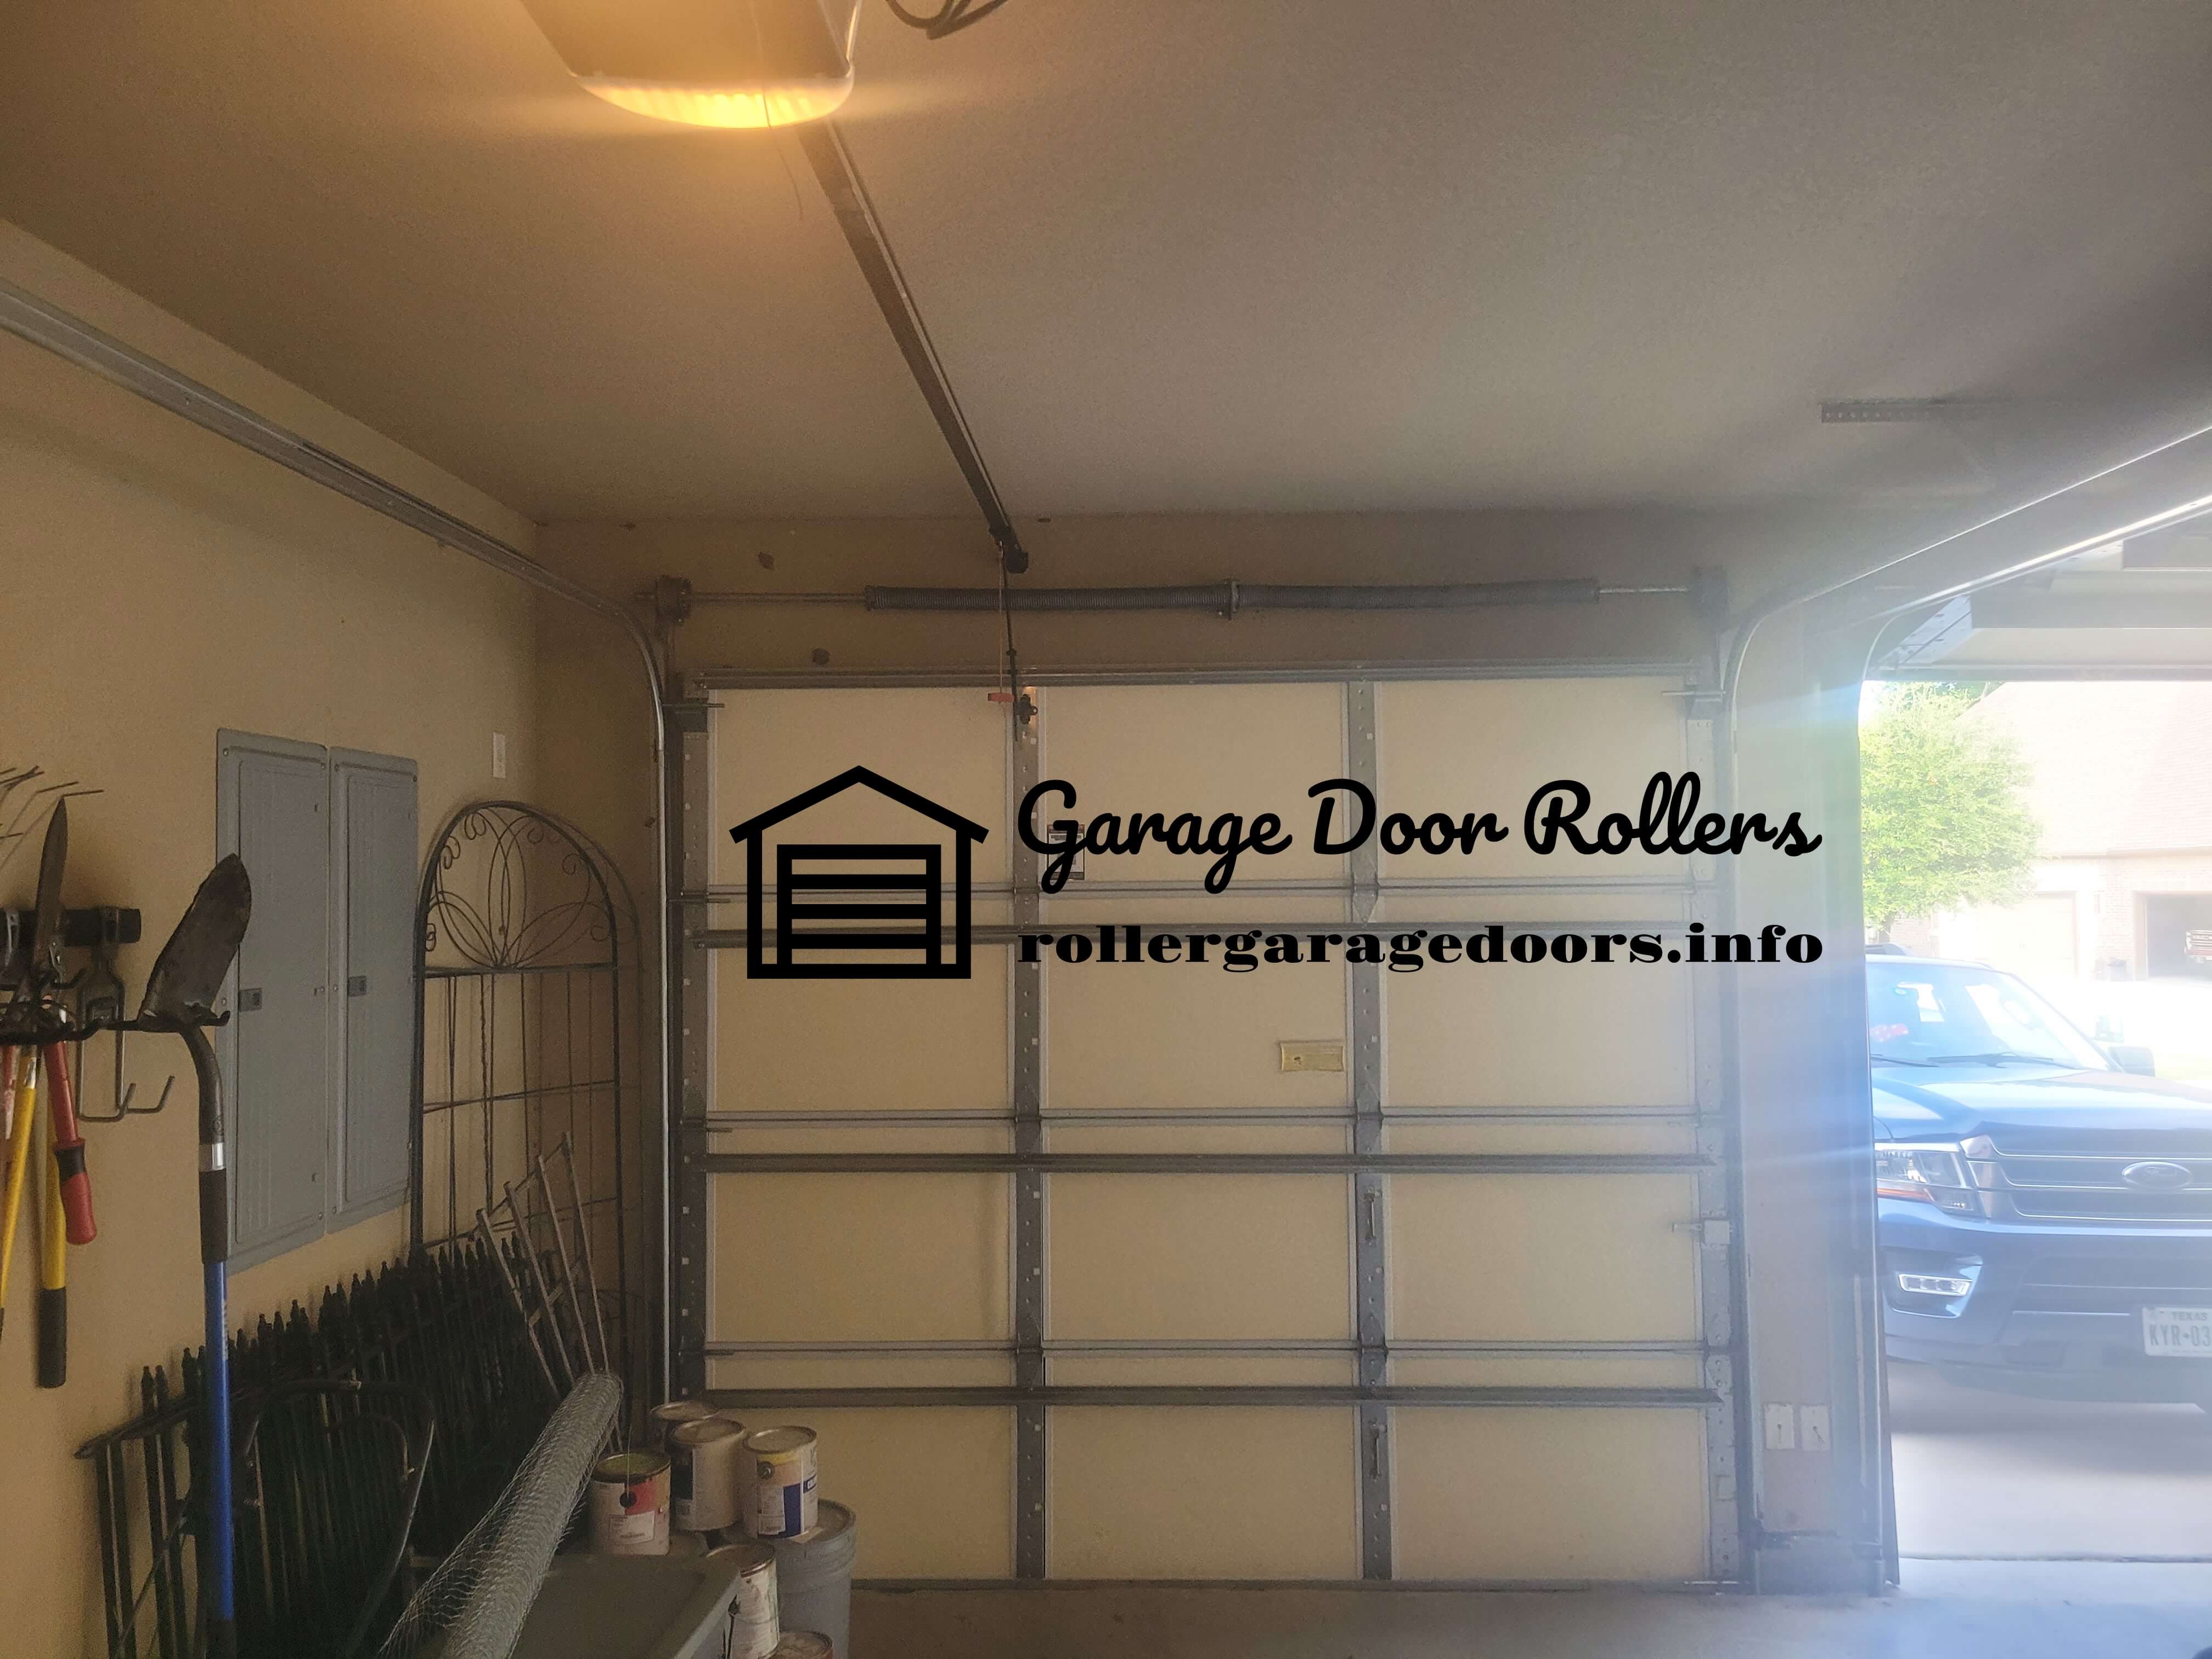
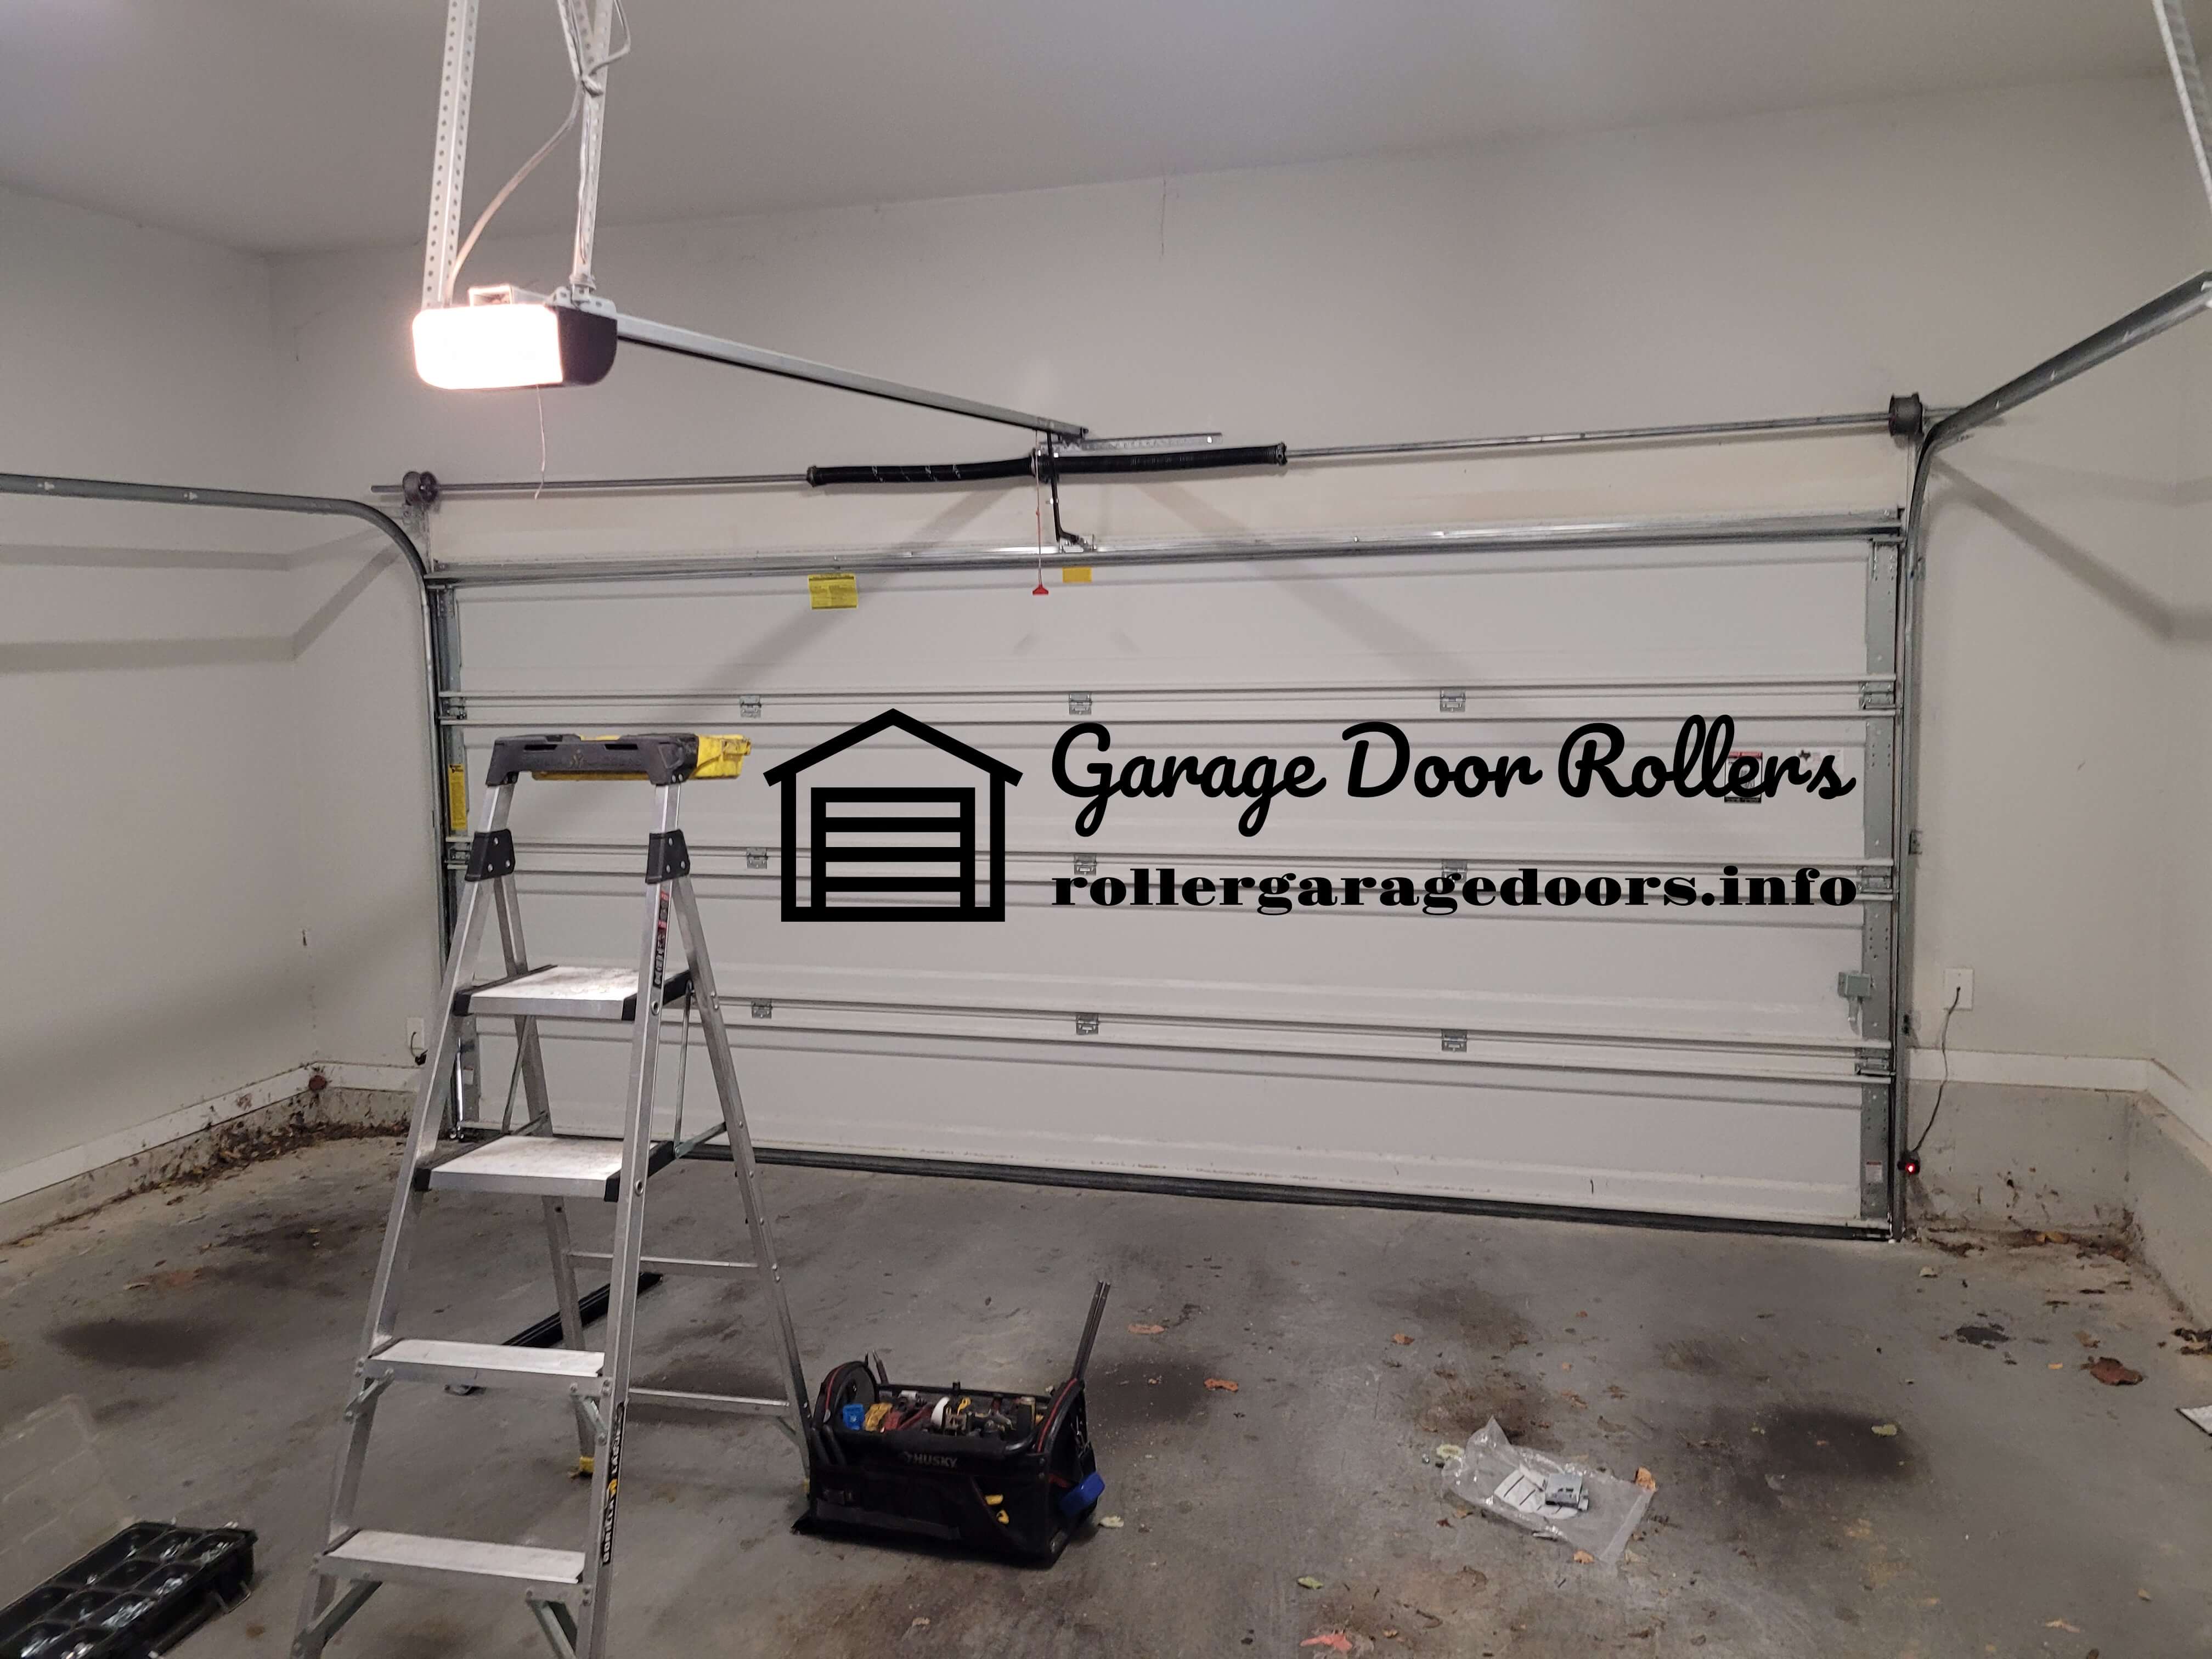
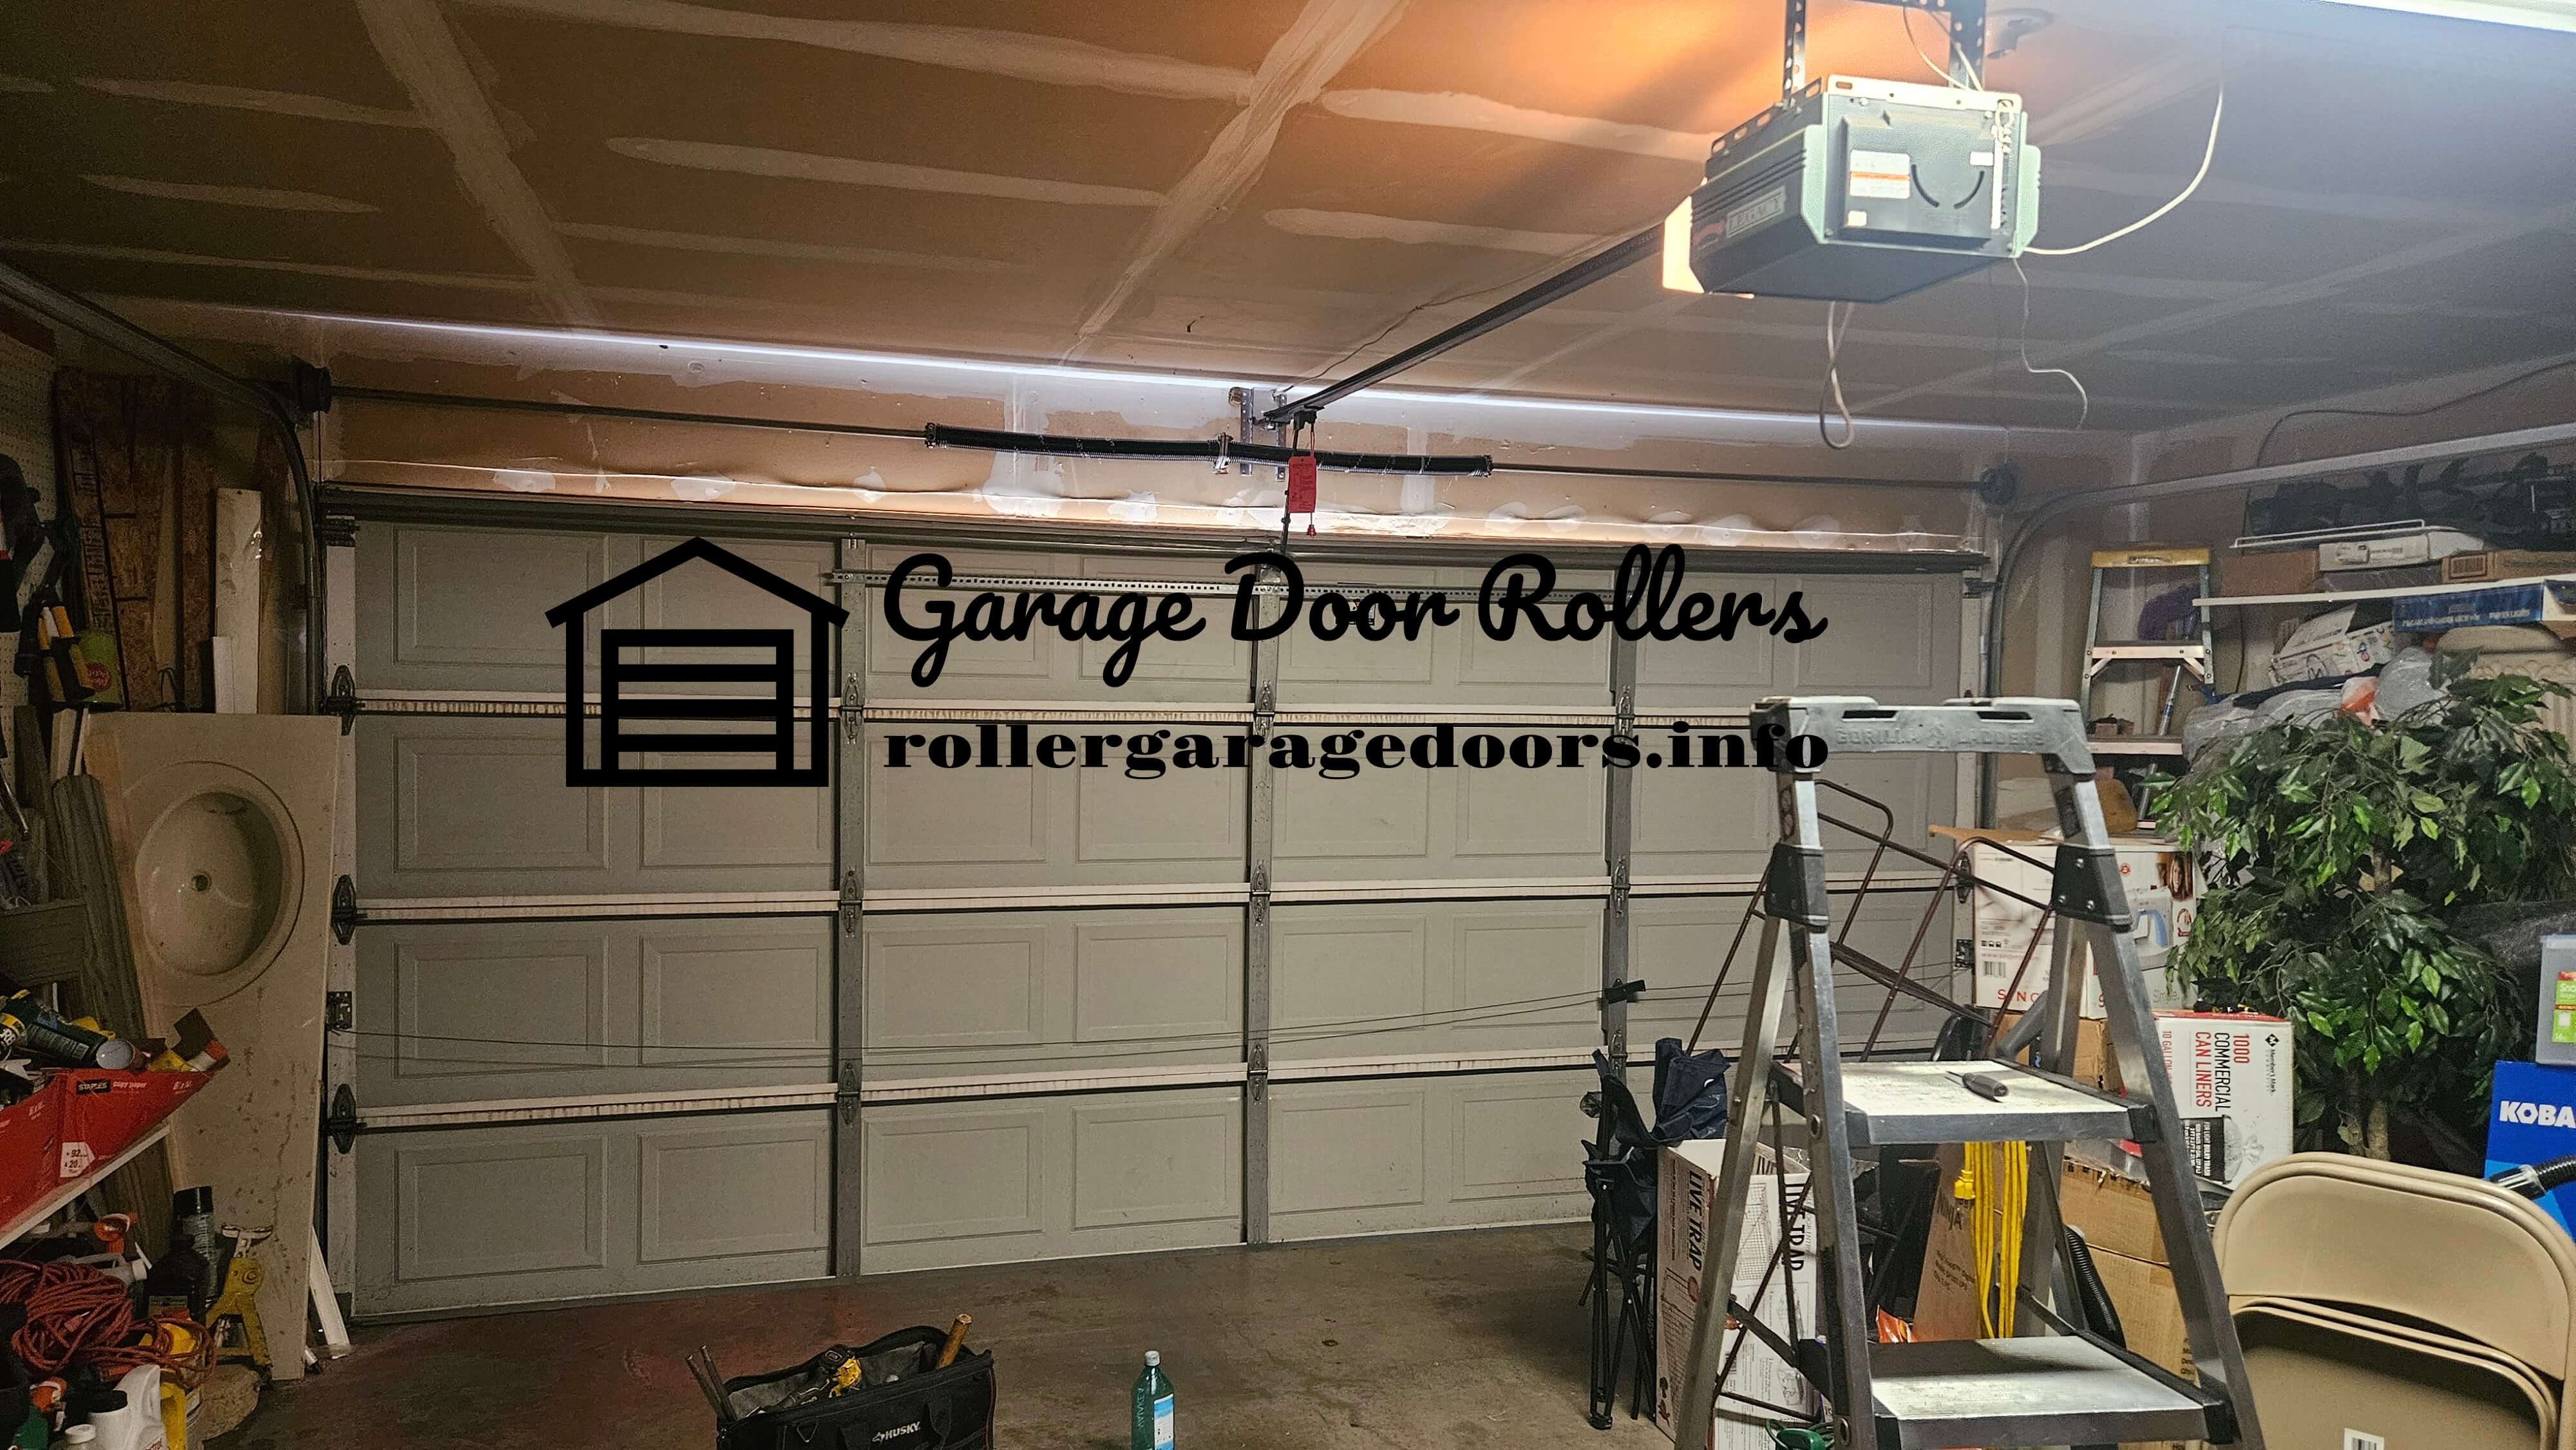
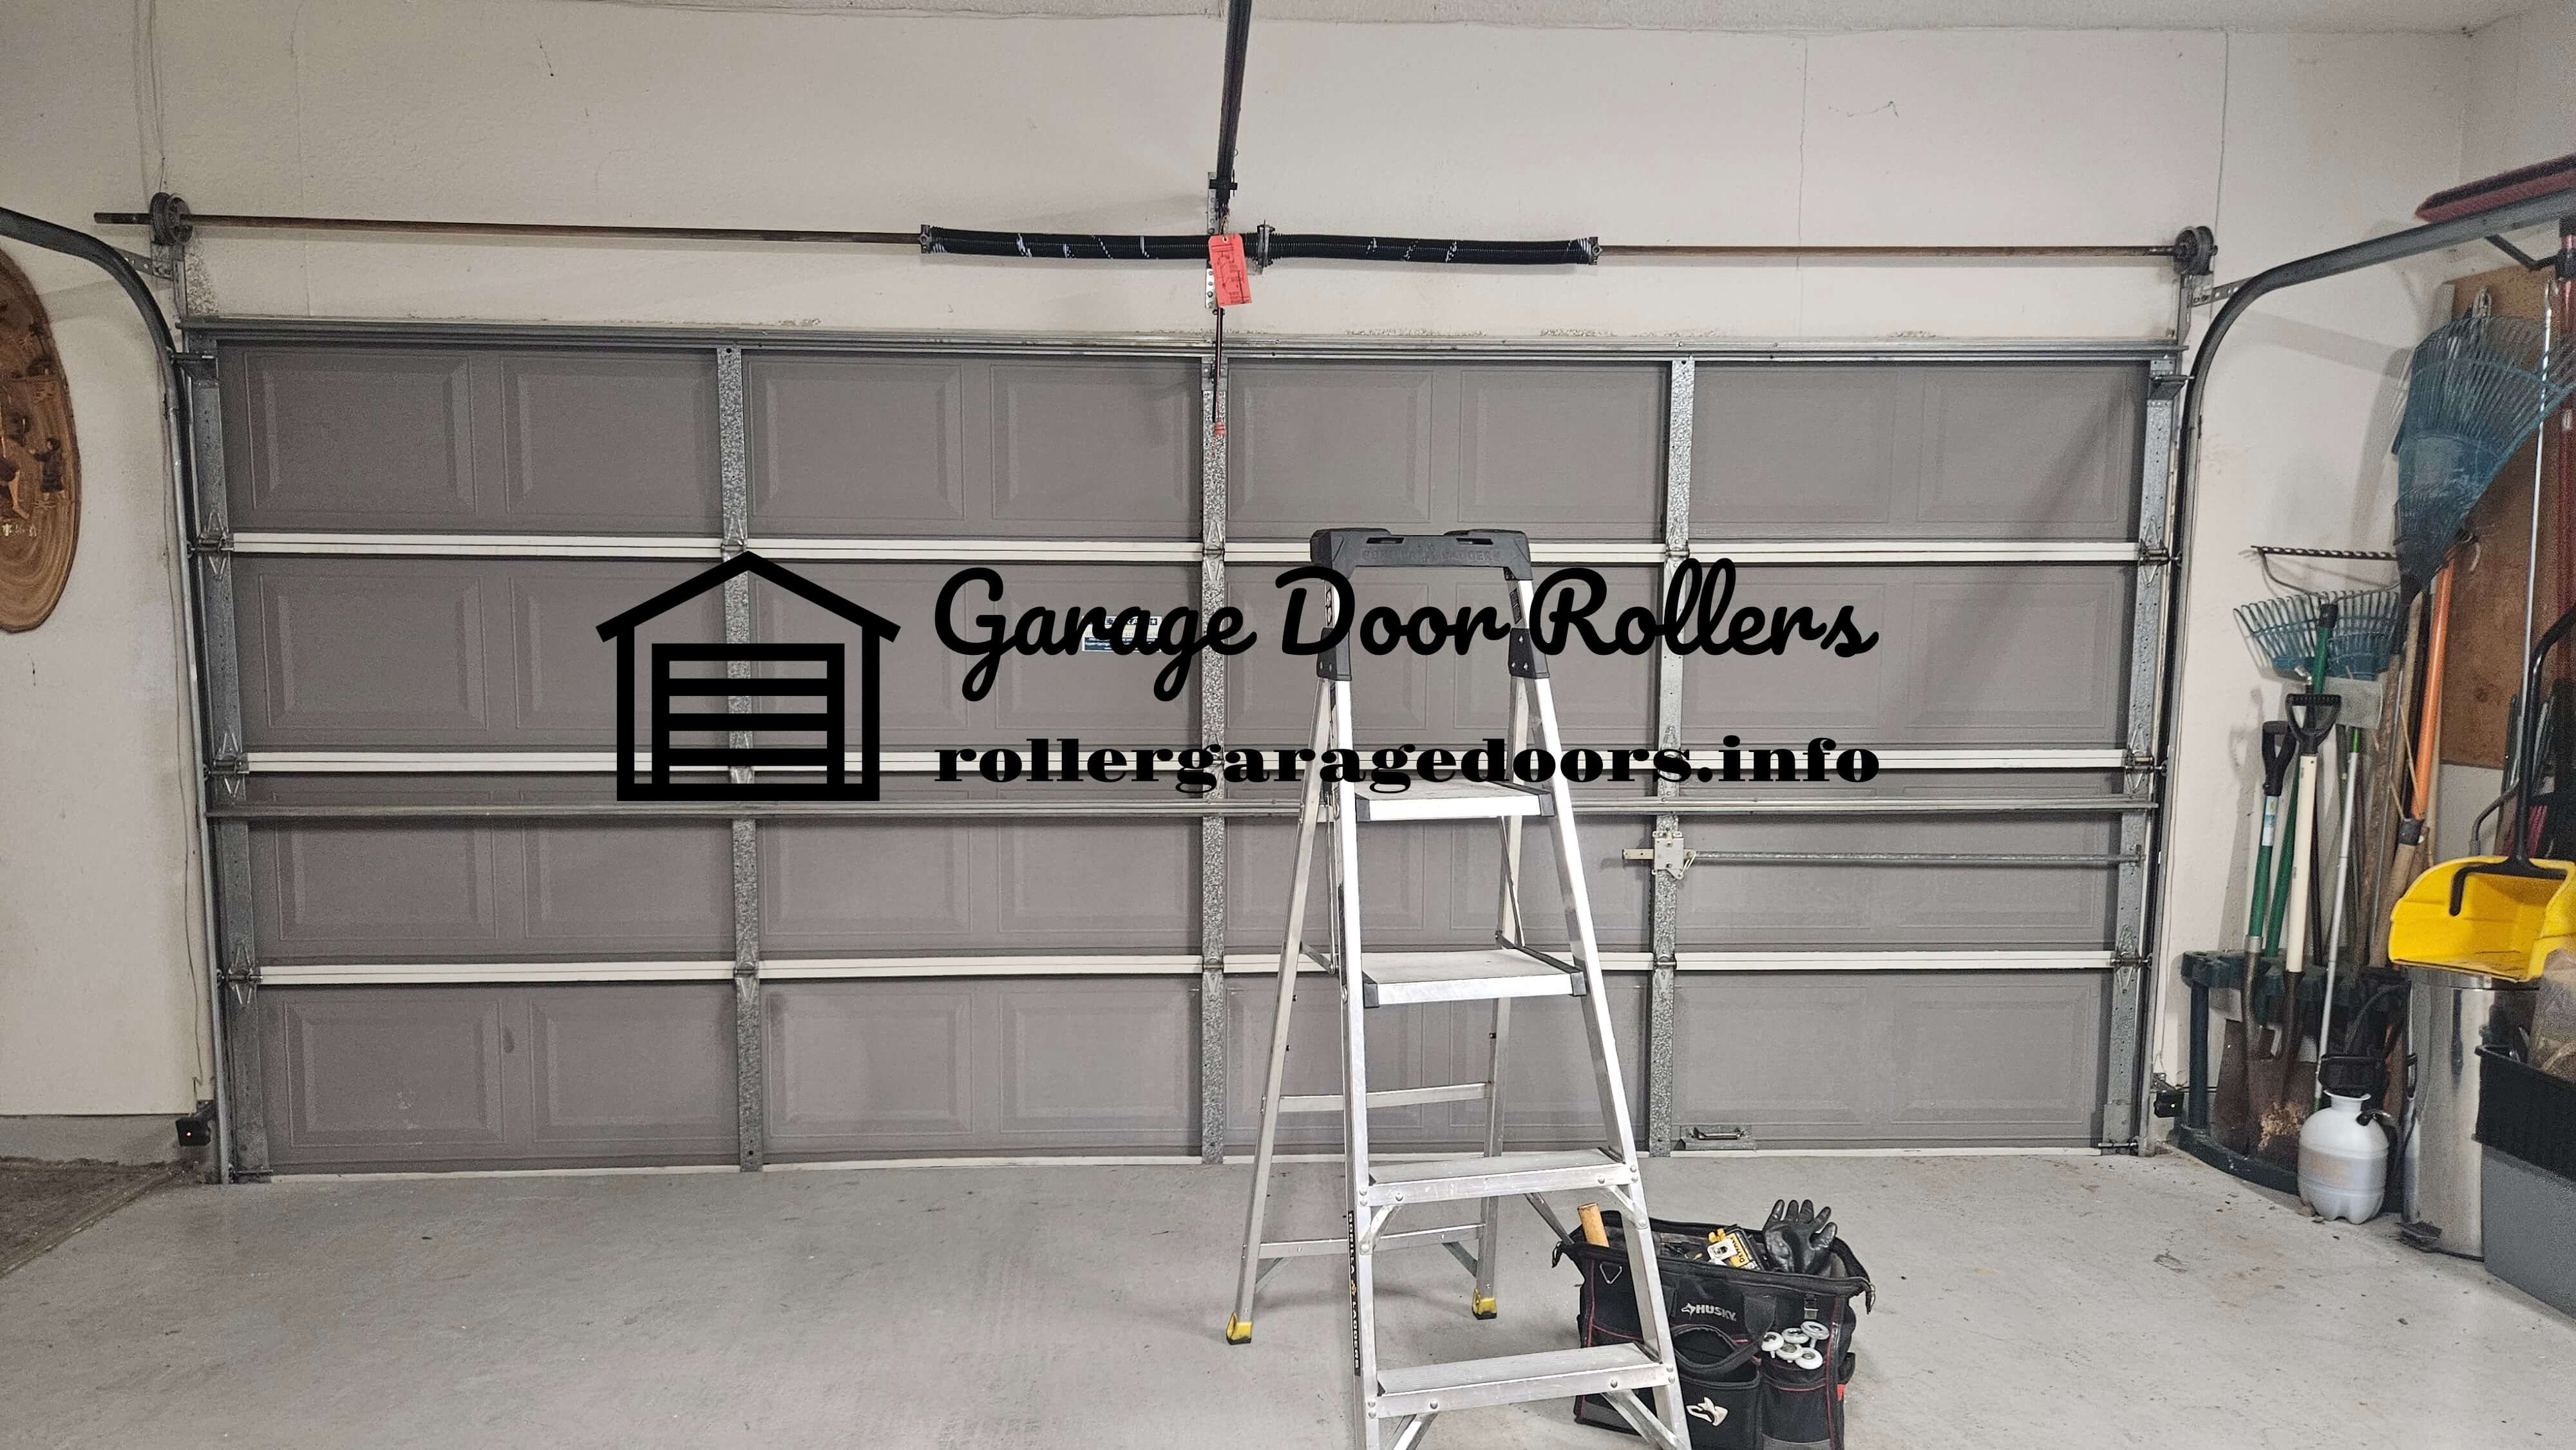
When you think about your garage door, you might focus on the opener, the springs, or the overall appearance. However, there’s an unsung hero in the world of garage doors – the rollers. These small, often-overlooked components play a crucial role in the smooth and reliable operation of your garage door. In this blog post, we’ll shine a spotlight on garage door rollers, exploring their importance, types, maintenance, and when it might be time for a replacement.
Garage door rollers are small wheels attached to the sides of the door panels that roll along the metal tracks to open and close the door. They are essential for reducing friction and ensuring your garage door operates quietly and efficiently. Here’s why they matter:
Smooth Operation: Rollers are designed to move smoothly along the tracks, allowing your garage door to open and close with ease. When they function correctly, you won’t hear loud creaking or grinding noises. Worn rollers increase friction and can result in unexpected opener reversal or the garage door coming off track.
Reduced Wear and Tear: Properly functioning rollers reduce friction between the door and the tracks, minimizing wear and tear on other components such as the opener and the tracks themselves, thereby extending the overall lifespan of your garage door system.
Quieter Operation: Garage rollers, especially nylon ones, can significantly reduce the noise generated during the door’s operation. This is particularly important if your garage is close to bedrooms or living spaces.
There are several types of rollers available, each with its own set of characteristics and advantages:
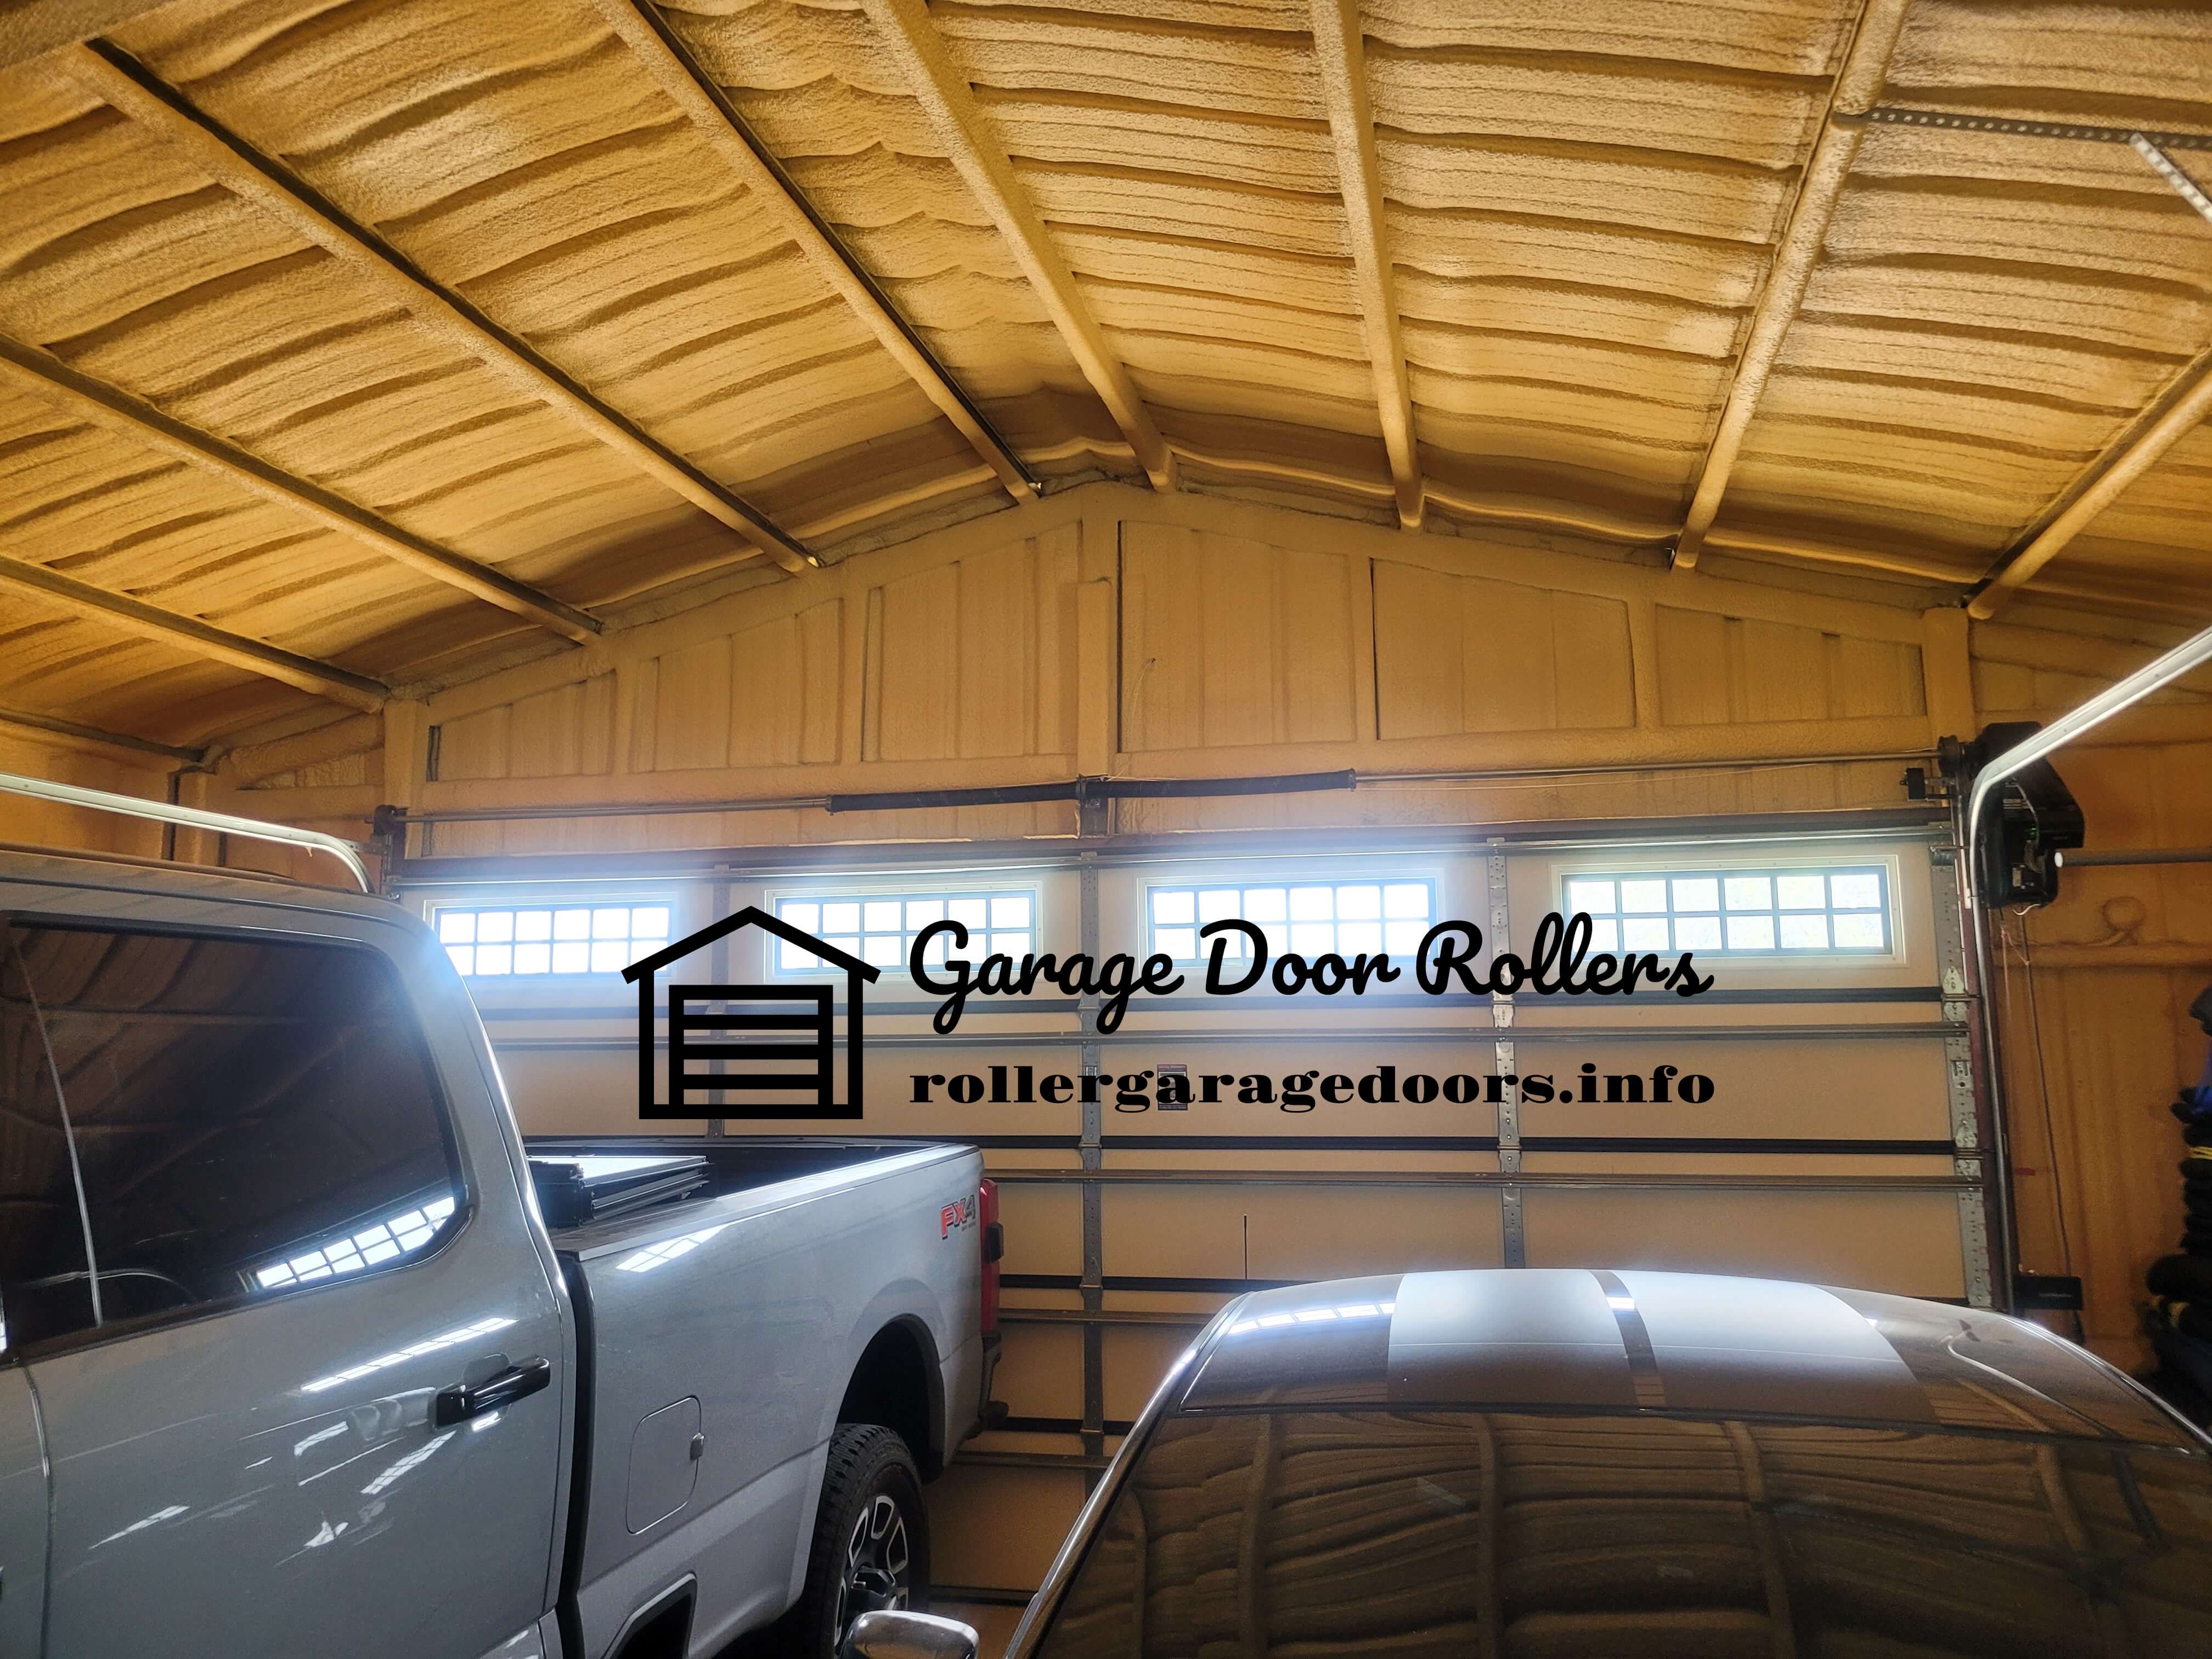
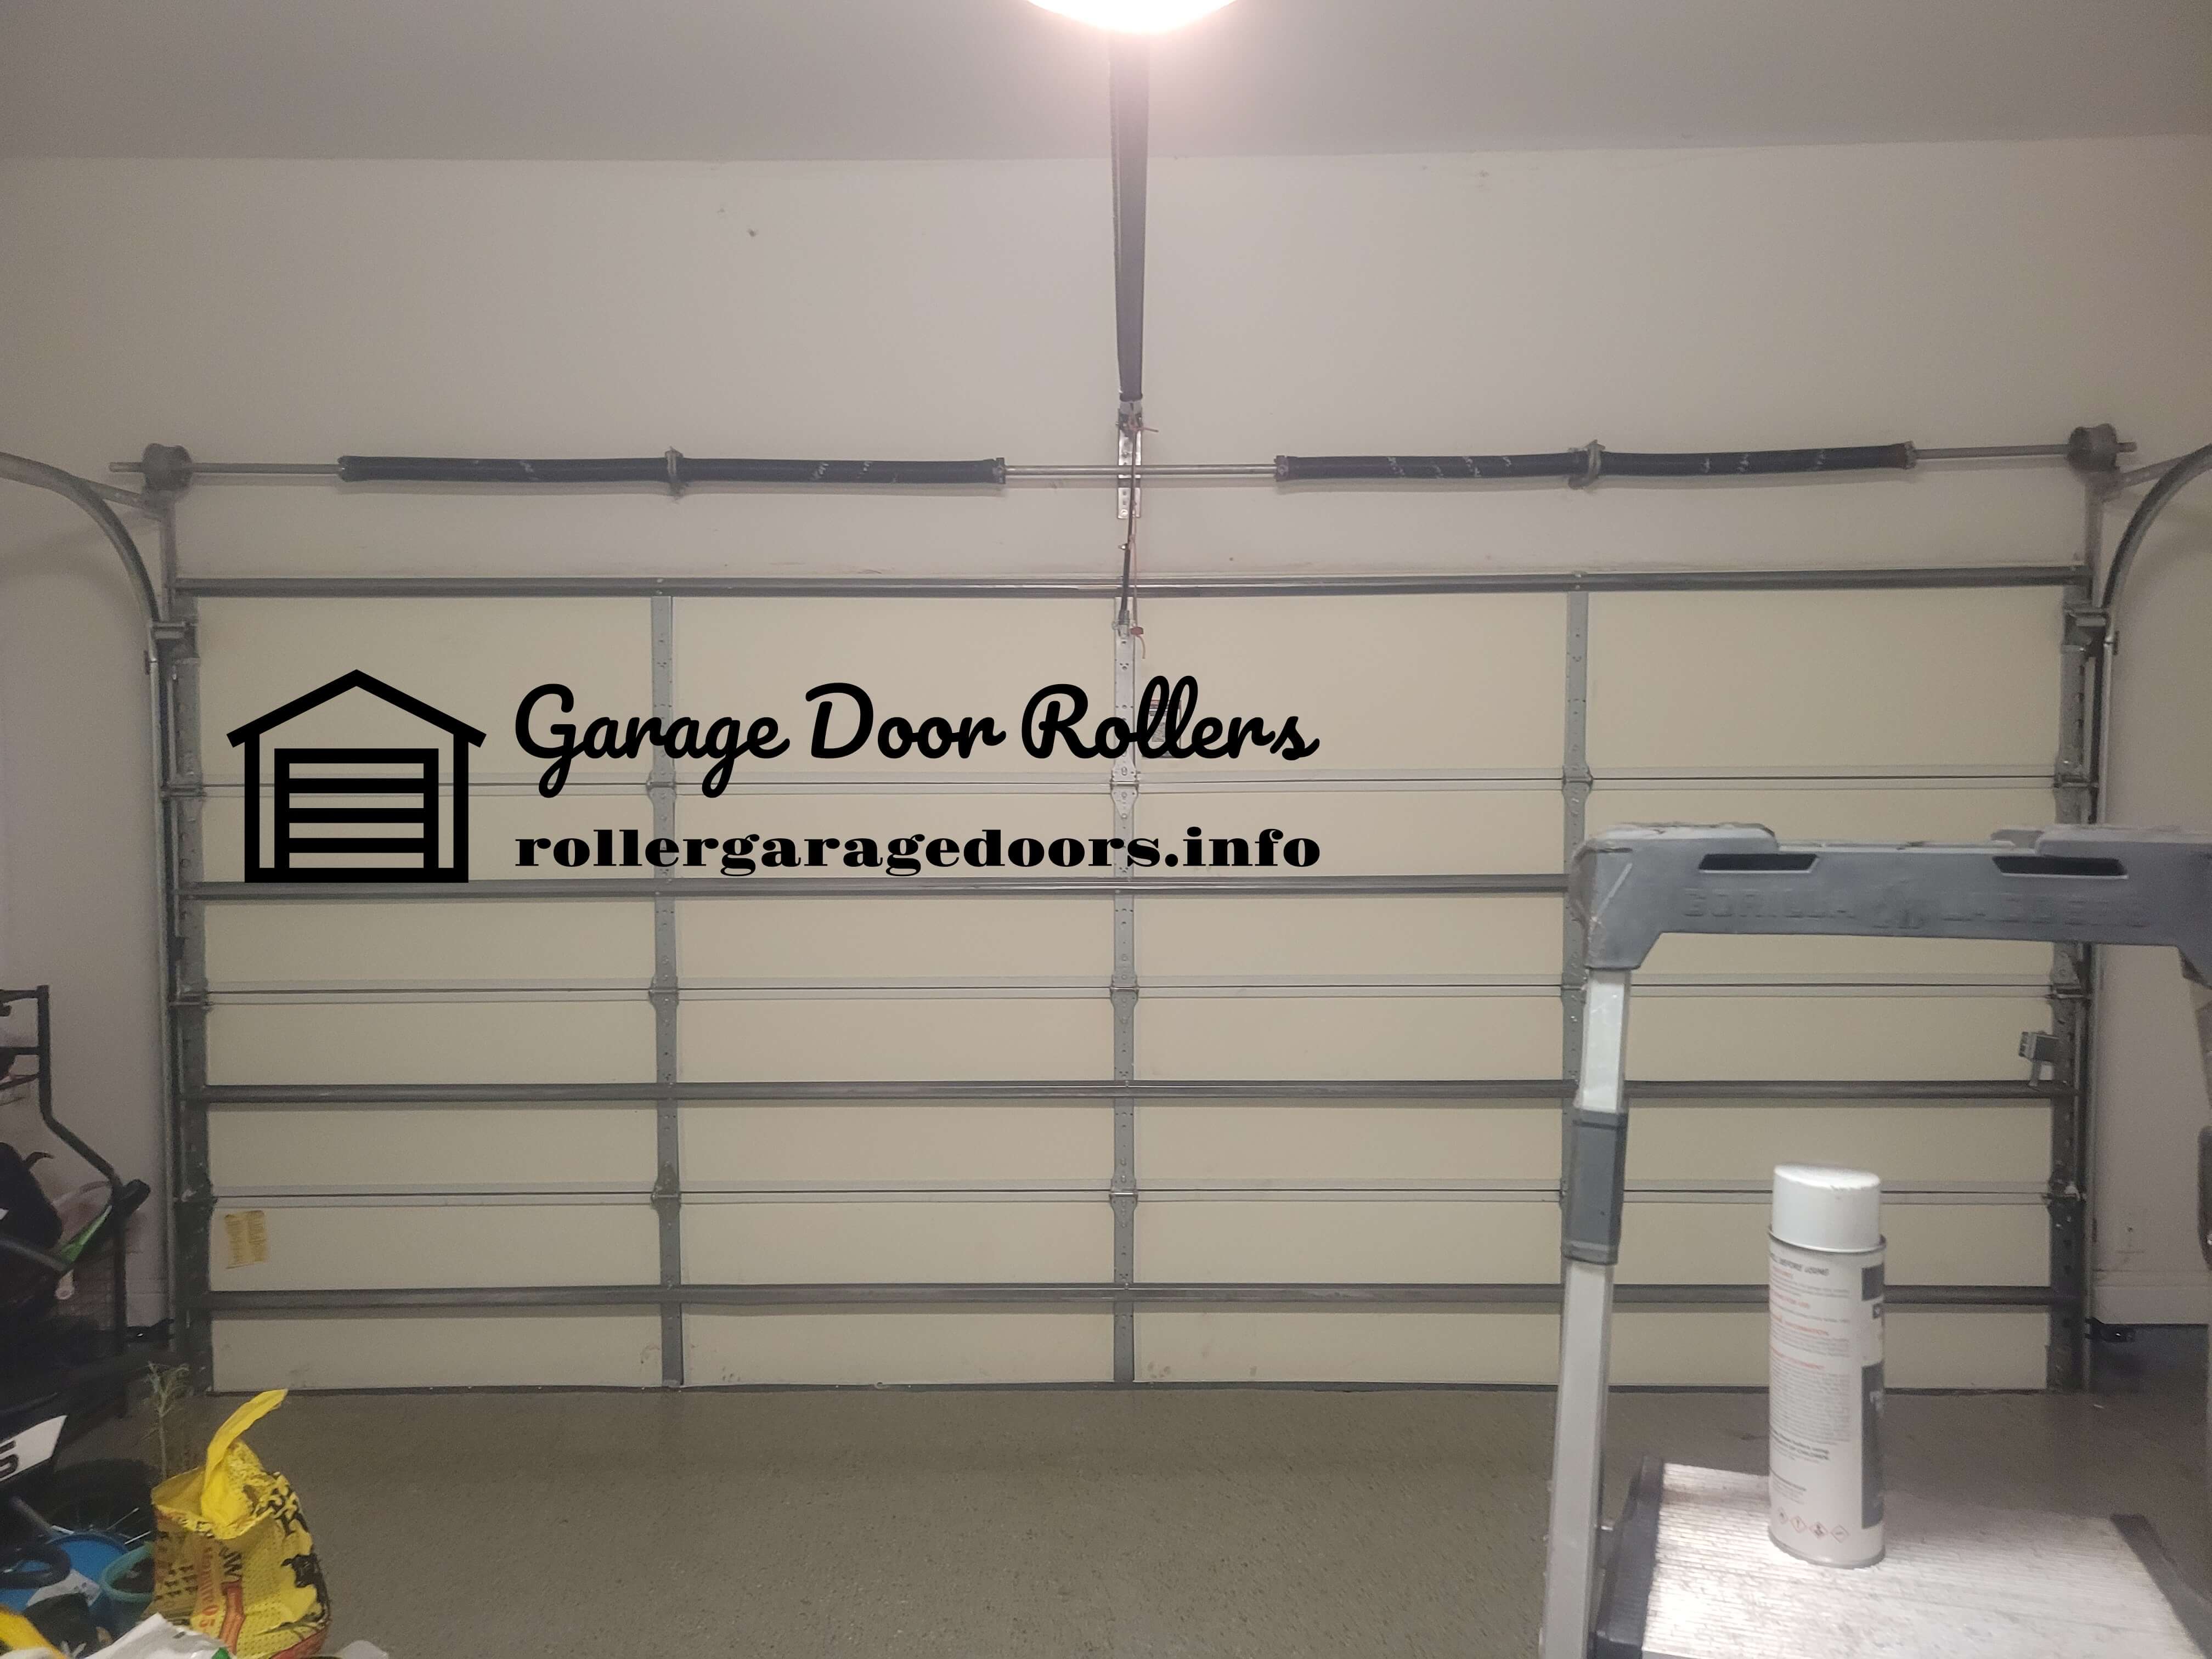
Proper maintenance can extend the life of your rollers:
Over time, rollers can wear out or become damaged. Here are some signs that it might be time for a replacement:
Before you get rolling, ensure your rollers only need maintenance and don’t require replacement. Inspect each roller individually to check for cracks, missing chunks, misshapenness, or wear.
If any rollers need replacement, call a garage door technician as soon as possible. Poorly operating rollers can cause opener parts to wear out prematurely and the garage door to jump the tracks. They also tend to produce unpleasant squeaking and grinding noises.
If your garage door is noisy and you’re unsure if the rollers are to blame, check out our recent blog post on identifying and troubleshooting garage door noises.
Maintaining your rollers is a simple matter of keeping them properly lubricated, but you need the right materials for the job.
Too often, homeowners make the mistake of using an oil lubricant like WD-40. In reality, WD-40 does more harm than good in this case. It’s a degreaser, and grease is just what your rollers need! Always use a lithium- or silicone-based grease to lubricate your rollers.
When applying lubrication, have a cloth handy to wipe up any drips. You may also want to put down a drop cloth or tarp to protect the garage floor from grease stains. Depending on your height, you might need a stepladder to reach high rollers.
Here’s how to lubricate different types of rollers:
Plastic Rollers: Apply grease to the outside of the roller and where the shaft meets the roller.
Steel Rollers: Apply grease to the ball bearings, found at the innermost part of the roller, where it meets the shaft.
Nylon Rollers with Exposed Ball Bearings: Lubricate the same way as steel rollers.
Nylon Rollers with No Ball Bearings: Lubricate the same way as plastic rollers.
Nylon Rollers with Sealed Ball Bearings: Do not lubricate these, as they don’t require maintenance.
Lubricate rollers with a light touch and immediately wipe away any excess. Be sure to use the straw that comes with the spray can.
Garage door rollers should be lubricated about twice a year or sooner if they start making squeaking or grinding noises during operation.
While you’ve got the grease out, it's worth lubricating other spots that require regular attention. Most importantly, lubricate the hinges, focusing on the points where they open and close. Also, lubricate the locks, the arm bar, and the bearing plates.
Your garage door springs need periodic lubrication as well, but it’s best to leave that to a professional garage door technician. The springs are under extremely high tension and pose a serious safety risk. Learn more about the dangers of garage door spring repair.
Lastly, do not lubricate the tracks, as they will start collecting dust and dirt over time, impeding the door’s operation. Instead, wipe down the tracks with a wet cloth and, if necessary, a grease cleaner.
| City & State | Service Call & Estimate | Door Repair | Standard Roller Replacement | Life Time Roller Replacement |
|---|---|---|---|---|
| Las Vegas, NV | Free On Site Estimate | $144-$333 | $178 - $198 | $188 - $228 |
| Dallas, TX | Free On Site Estimate | $144-$333 | $178 - $198 | $188 - $228 |
| Fort Worth, TX | Free On Site Estimate | $144-$333 | $178 - $198 | $188 - $228 |
| Austin, TX | Free On Site Estimate | $144-$333 | $178 - $198 | $188 - $228 |
| Houston, Texas | Free On Site Estimate | $144-$333 | $178 - $198 | $188 - $228 |
| San Antonio, TX | Free On Site Estimate | $144-$333 | $178 - $198 | $188 - $228 |
| San diego, CA | Free On Site Estimate | $144-$333 | $178 - $198 | $188 - $228 |
| Long Island, NY | Free On Site Estimate | $144-$333 | $178 - $198 | $188 - $228 |
| New York, NY | Free On Site Estimate | $144-$333 | $178 - $198 | $188 - $228 |
| Miani, FL | Free On Site Estimate | $144-$333 | $178 - $198 | $188 - $228 |
| Los Angeles, CA | Free On Site Estimate | $144-$333 | $178 - $198 | $188 - $228 |
| Atlanta, GA | Free On Site Estimate | $144-$333 | $178 - $198 | $188 - $228 |
| Lake Elsinore, CA | Free On Site Estimate | $144-$333 | $178 - $198 | $188 - $228 |
| Boston, MA | Free On Site Estimate | $144-$333 | $178 - $198 | $188 - $228 |
| Chicago, IL | Free On Site Estimate | $144-$333 | $178 - $198 | $188 - $228 |
| Minneapolis, MN | Free On Site Estimate | $144-$333 | $178 - $198 | $188 - $228 |
| Oklahoma City, OK | Free On Site Estimate | $144-$333 | $178 - $198 | $188 - $228 |
| Knoxville, TN | Free On Site Estimate | $144-$333 | $178 - $198 | $188 - $228 |
| Arlington, TX | Free On Site Estimate | $144-$333 | $178 - $198 | $188 - $228 |
| Las Vegas, NV | Free On Site Estimate | $144-$333 | $178 - $198 | $188 - $228 |
| Detroit, MI | Free On Site Estimate | $144-$333 | $178 - $198 | $188 - $228 |
| Kansas City, MO | Free On Site Estimate | $144-$333 | $178 - $198 | $188 - $228 |
| Henderson, NV | Free On Site Estimate | $144-$333 | $178 - $198 | $188 - $228 |
| Pewaukee WI | Free On Site Estimate | $144-$333 | $178 - $198 | $188 - $228 |
| Frisco, TX | Free On Site Estimate | $144-$333 | $178 - $198 | $188 - $228 |
| Charlotte, NC | Free On Site Estimate | $144-$333 | $178 - $198 | $188 - $228 |
| Louisville, KY | Free On Site Estimate | $144-$333 | $178 - $198 | $188 - $228 |
| San Antonio, TX | Free On Site Estimate | $144-$333 | $178 - $198 | $188 - $228 |
| Madison, WI | Free On Site Estimate | $144-$333 | $178 - $198 | $188 - $228 |
| Phoenix, AZ | Free On Site Estimate | $144-$333 | $178 - $198 | $188 - $228 |
